Thorpe Hall GC - 18 Holes
Hole 1
Pro Tip - With out of bounds down the left, accuracy is premium on this opening hole. Finding the fairway should leave a mid-iron to the slightly raised green. Consider taking an extra club to avoid the deep front bunkers.
Hole 2
Pro Tip - Favour the right side of the fairway to open up the green on this right to left dogleg. Be careful of the pond on the right-hand side when the pin is on the top tier of this tricky green.
Hole 3
Pro Tip - An early examination of ball striking on the longest par 3 at Thorpe Hall. Nothing less than a straight shot will do to a green that slopes from back to front and is flanked by two deep bunkers.
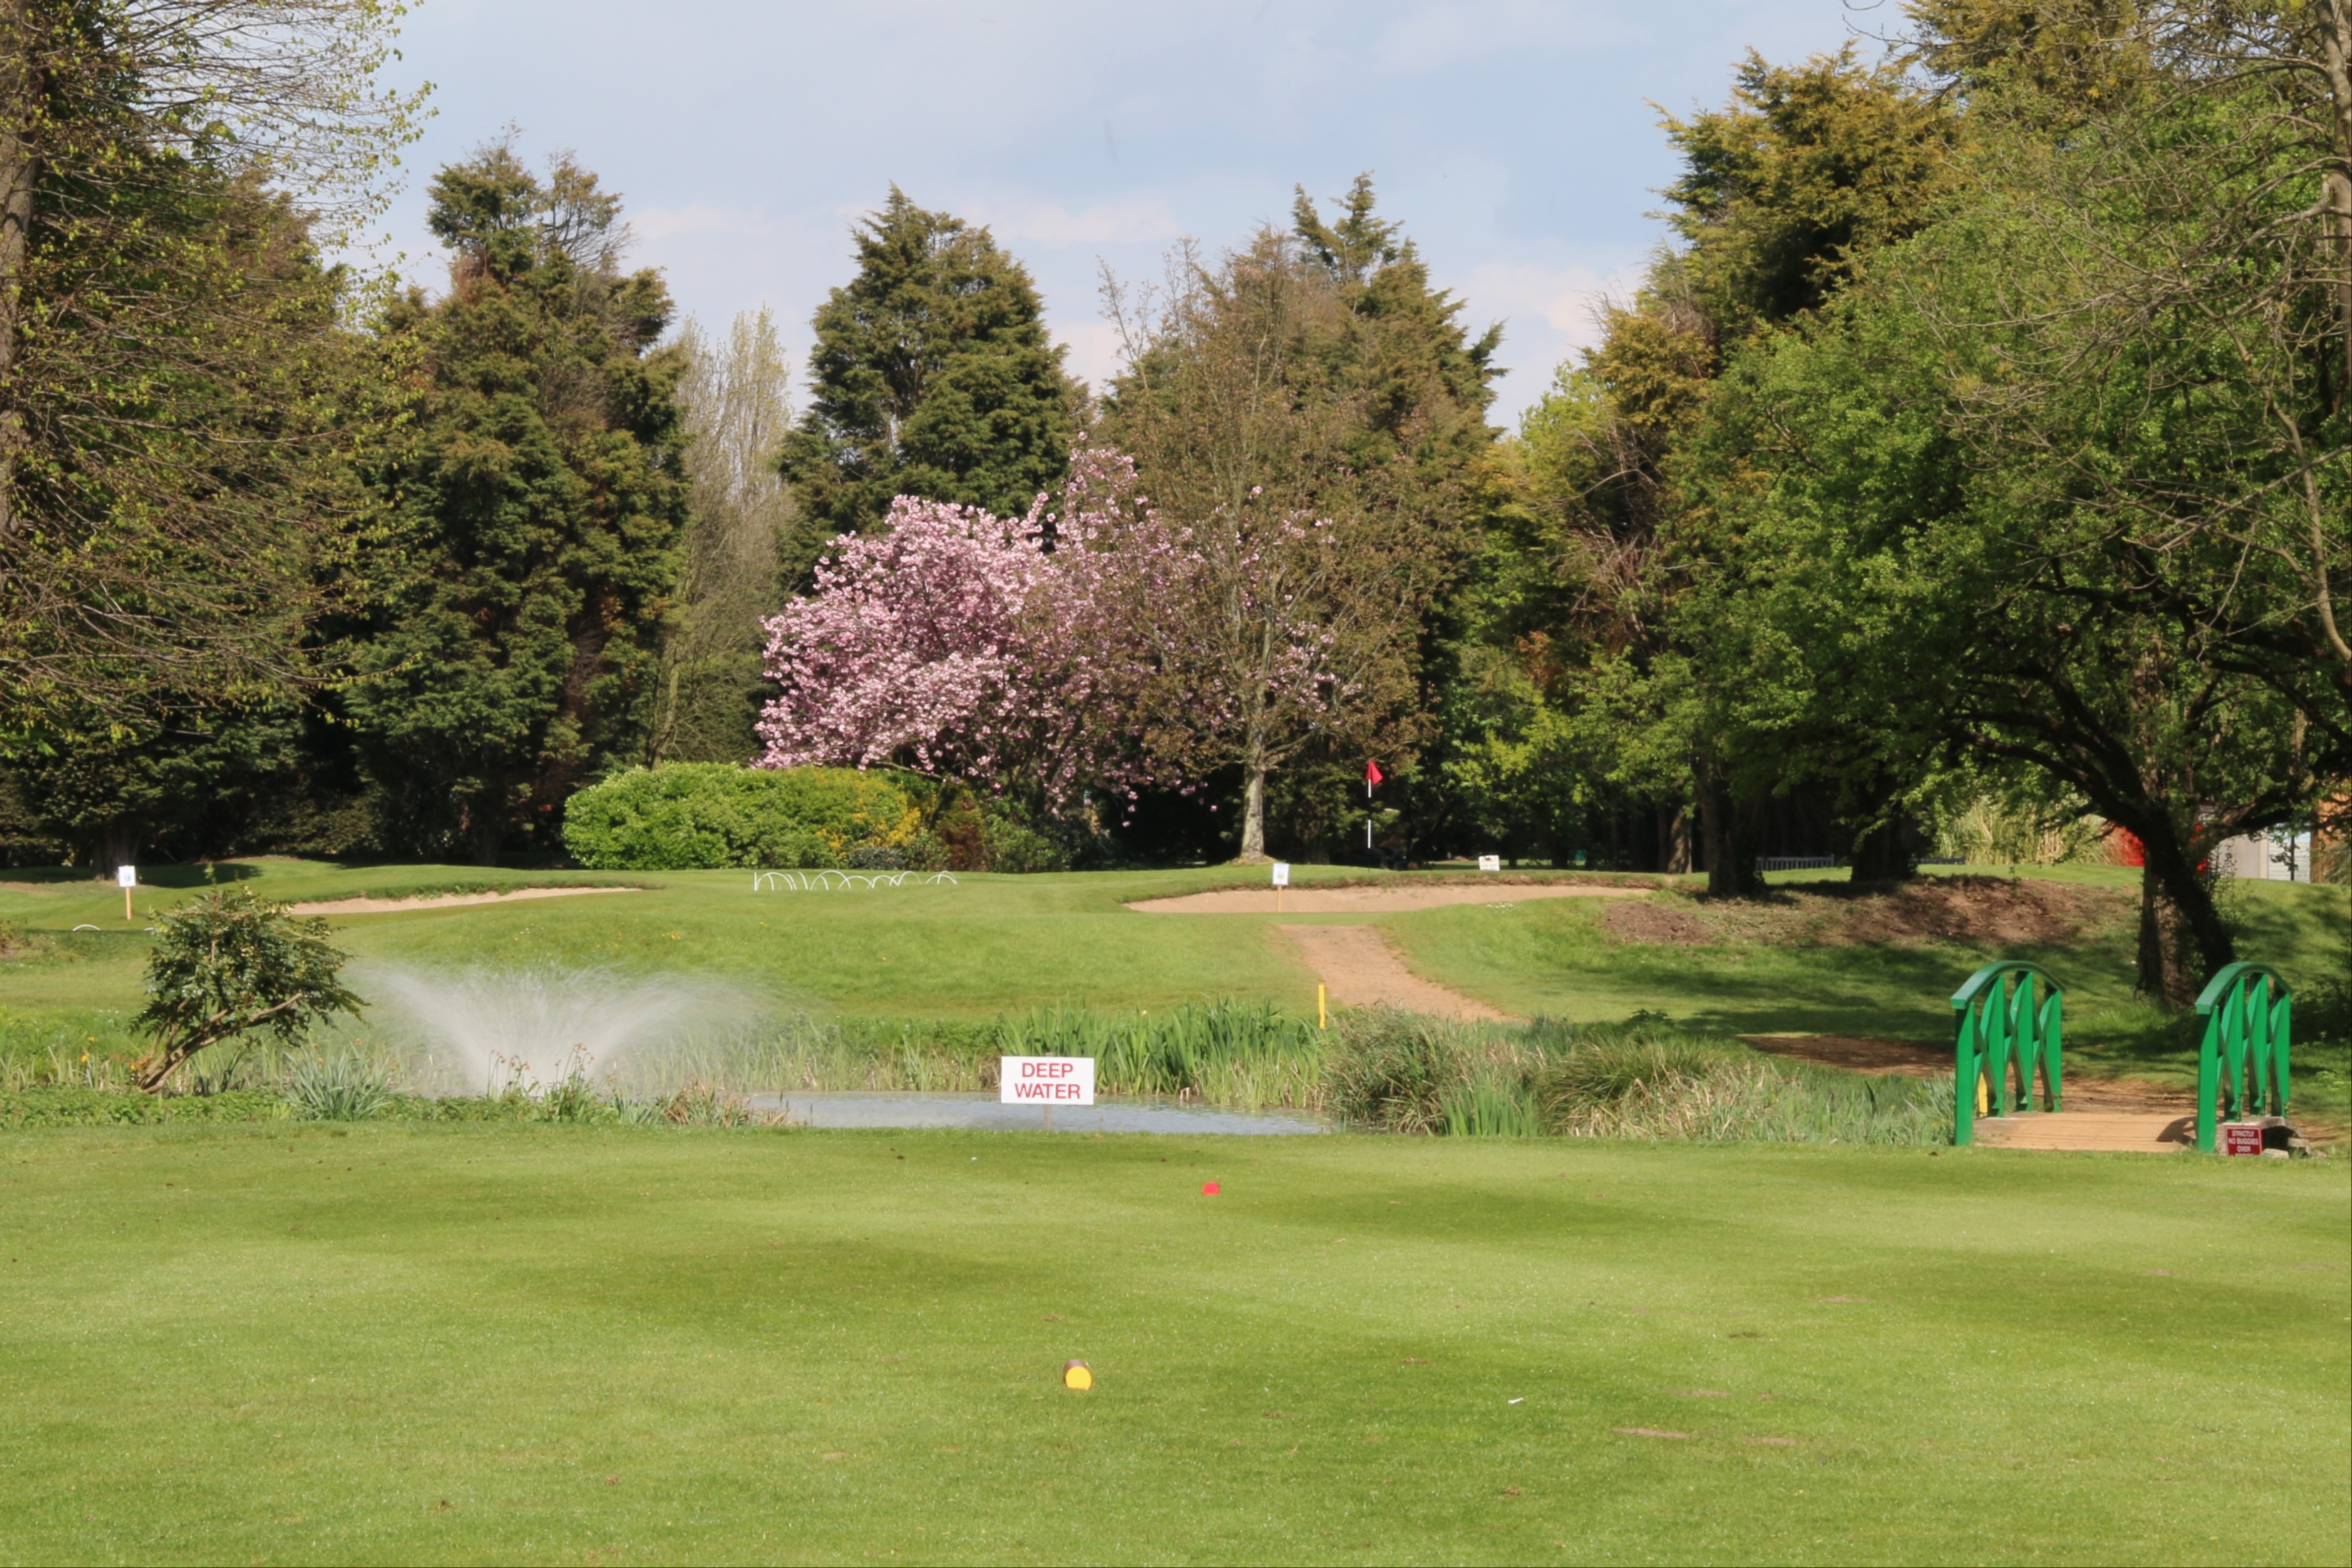
Hole 4
Pro Tip - This par 5 is reachable in two for the longer hitter. Favour the left-hand side of the fairway to leave the best angle in. The handicap golfer should play their second shot to the top of the slope at 100 yards out to leave a short approach. Once you reach the green the real challenge starts as a flat putt on the 4th is a rare beast.
Hole 5
Pro Tip - This tough par 3 plays uphill to the raised green. Take one more club than the yardage suggests to ensure that you clear the deep bunkers.
Hole 6
Pro Tip - A tough par 4, a fade is the perfect shape from the tee. Once round the corner you are faced with two options. The longer player will fancy the shot to the green while the handicap golfer would be advised to play their second shot short of the ditch on the left leaving an easy iron approach to the two-tiered green.
Hole 7
Pro Tip - With trees to the left and a ditch on the right, this is another par 3 that requires your full attention. Correct club selection is key to this long narrow green.
Hole 8
Pro Tip - A true three shot par 5. Out of bounds runs the entire length of the left-hand side of this hole. With this in mind, plot a route along the right-hand side and hope for a pitch and a putt to secure a rare birdie!
Hole 9
Pro Tip - The longer hitters might find the temptation of the green to much to ignore. BEWARE. With out of bounds to the left and a deep water hazard to the right, the sensible play is to find the club that will reach the corner of the dogleg leaving a straight shot to the green that runs away from front to back.
Hole 10
Pro Tip - The ideal line is the left-hand side of the fairway and anything less than the this will leave you needing to conjure up something special to avoid the trees that guard the right half of the green. Once on the green, the putting surface is fairly flat offering the chance to attack the putt.
Hole 11
Pro Tip - A bit of light relief with this short par 5. Be aware of the ditch that runs along the left meaning that, yet again, a tee shot with a right bias should leave the best chance of 'having a go' at this hole.
Hole 12
Pro Tip - With a water hazard down the left, favour the right-hand side from the tee on this right to left dogleg. Considered to be a tough par 4 by the members, choice of club for the second shot is crucial as the green runs from front to back. Par is a good score on the 12th hole.
Hole 13
Pro Tip - Without length to protect it, this par 3 relies on the trees, the ditch and, of course, the clever bunkering to ensure that you need the right club to get anything out of this hole. With most of the trouble at the front, take an extra club with a smooth swing.
Hole 14
Pro Tip - A long par 5 that tends to play its length into the prevailing wind. Reachable from the tee, there is a water hazard on the left although the hole opens up as you get to the end of the funnel of trees down the right. This hole provides an outside chance to get a shot back against the card.
Hole 15
Pro Tip - A very pretty right to left dogleg par 4. With a ditch on the left, keep your tee shot up the right-hand side of the fairway to leave the best line in. The second shot shouldn't pose a huge problem but be sure to check the wind direction as although it can feel very sheltered in this part of the course the wind may still be there.
Hole 16
Pro Tip - Choose the right club as there are deep bunkers waiting for any shot that is less than perfectly struck. If you score par on all the 3s at Thorpe Hall then you could be on for a good score.
Hole 17
Pro Tip - This another of Thorpe Hall's fine risk and reward holes. Long hitters can go to the left of the big tree to take yards off the dogleg. The sensible play is right of the tree leaving an uphill second to a green that plays longer than it looks. An extra club makes sense as a ball landing on the slope will usually roll into the bunker.
Hole 18
Pro Tip - Ease your way back to the clubhouse with what should be a straight forward two shotter. Lay up short of the two fairway bunkers to leave a short iron to the green which slopes from back to front. Keep your concentration and this hole should afford you a birdie chance and another story to add to your Thorpe Hall experience.